Knotless chain (or regular chain) 4:

Find the back ridge of the first chain you made; you will be making your next stitches into it.
Treble crochet 2 together in the space under that back ridge.
(To treble crochet 2 together, yarn over 2 times;
insert hook under back ridge, yarn over and pull up a loop,
yarn over and pull through 2 loops,
yarn over and pull through 2 loops;
with 2 loops still on hook, yarn over 2 times,
insert hook under same back ridge, yarn over and pull up a loop,
yarn over and pull through 2 loops,
yarn over and pull through 2 loops;
yarn over and pull through all 3 loops on hook.)
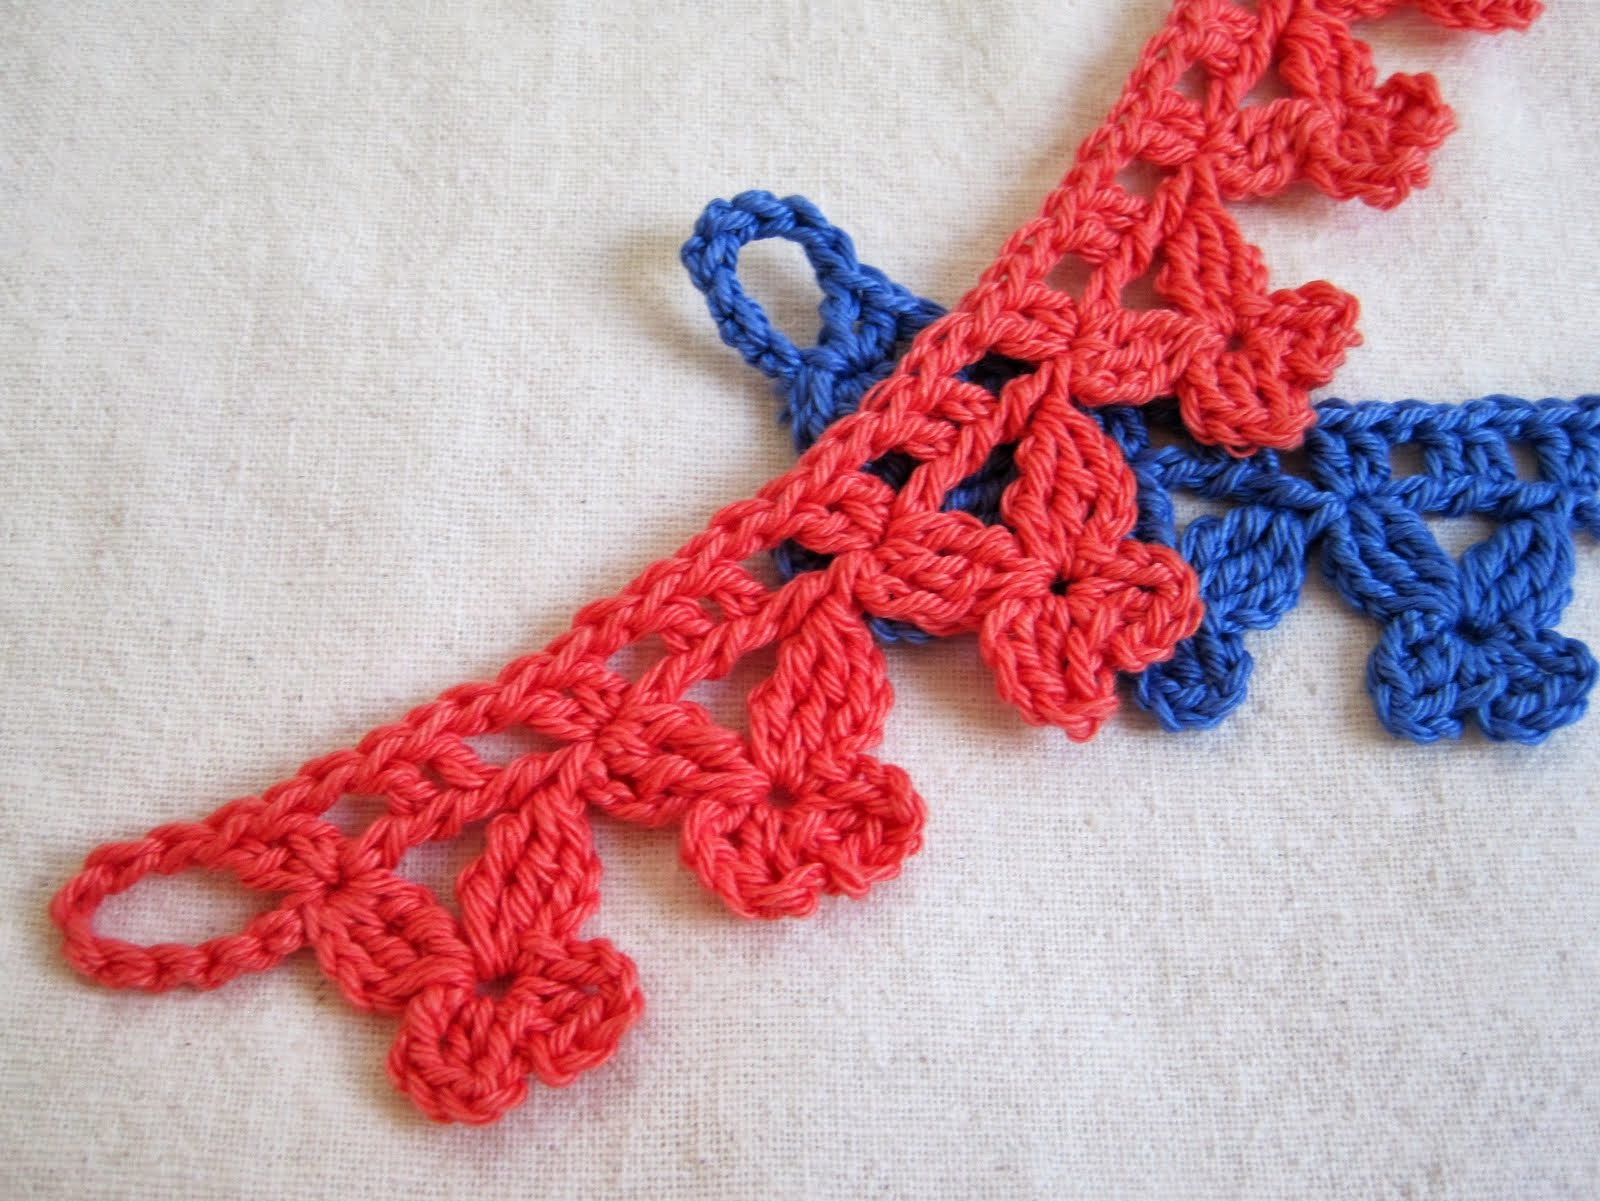
You've made the first wing of your Flutter-By:

Chain 4, and find the back ridge of the 4th chain from the hook (this back ridge will form the center of the Flutter-By; all the rest of the wings will be stitched into this space):
Double crochet 1 in that back ridge:
Chain 3, and slip stitch in the same back ridge space (lower left wing now complete):
Chain 3,
double crochet in the same back ridge space,
chain 3,
slip stitch in the same back ridge space.
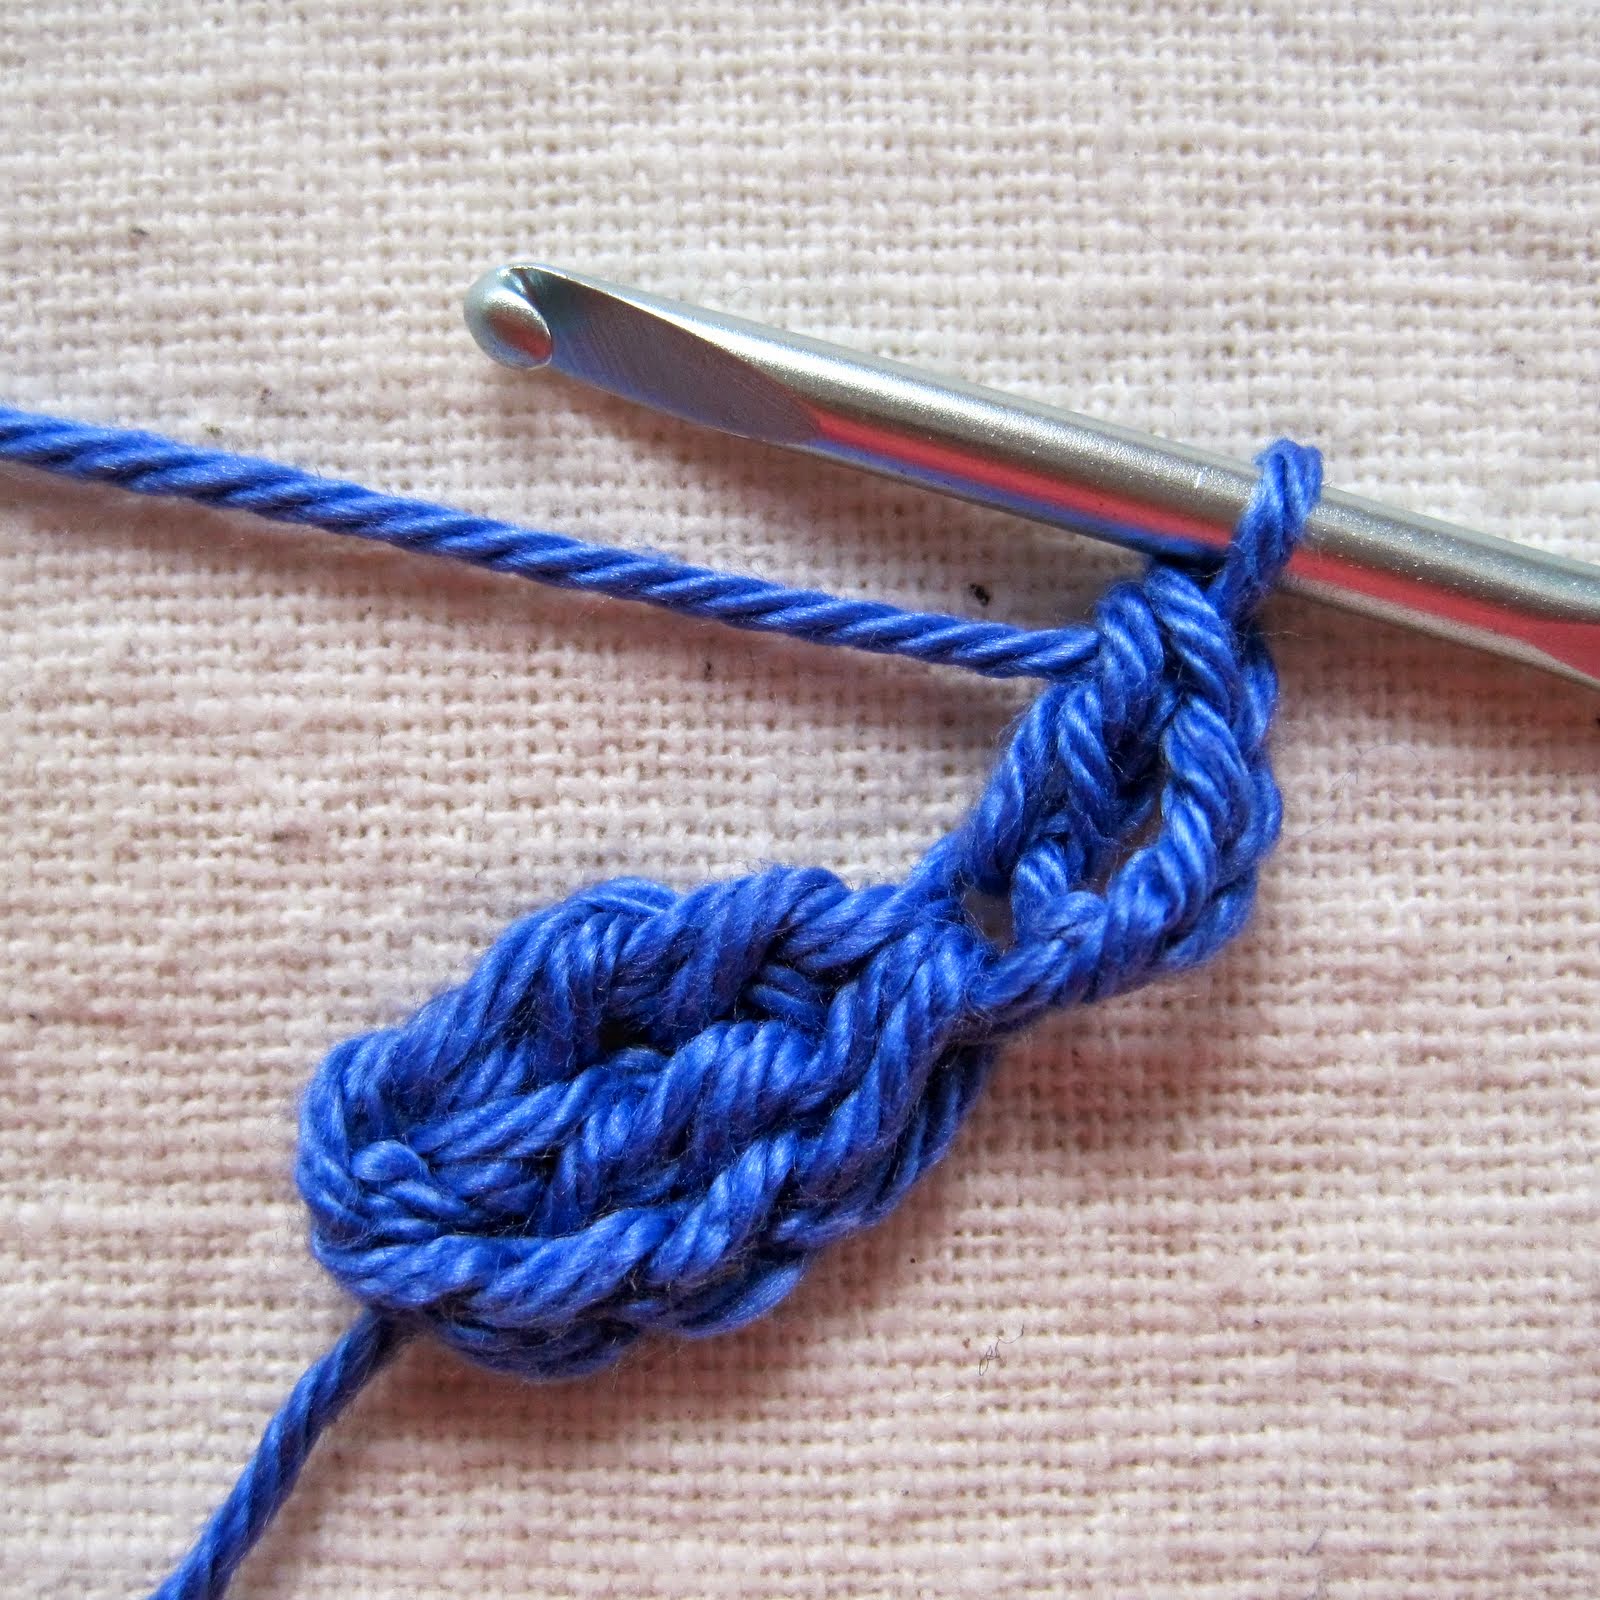
Your lower right wing is now complete:

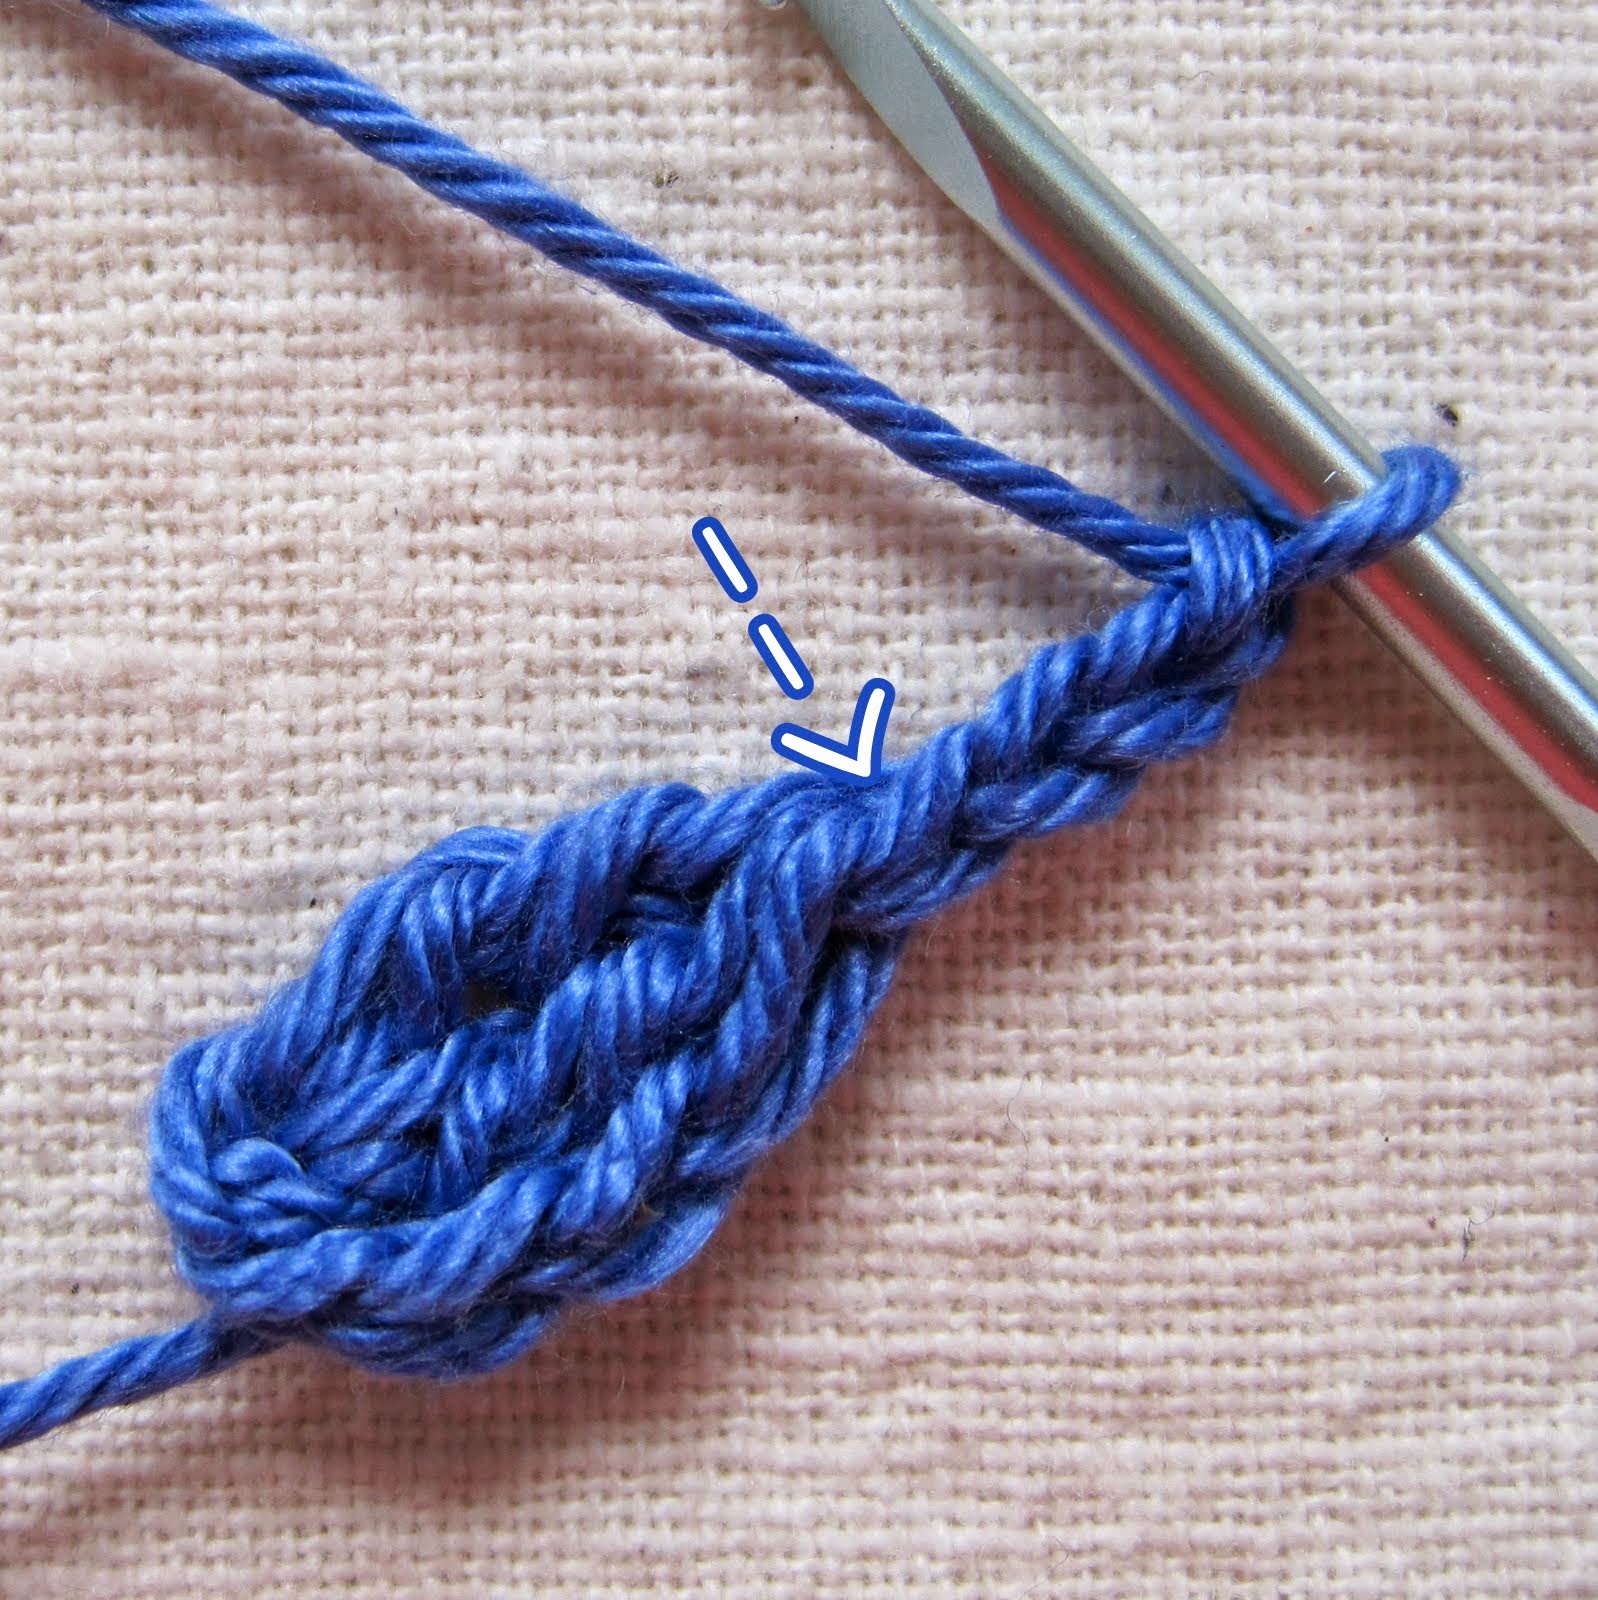
Chain 3, and treble crochet 2 together in the same back ridge space. Your upper right wing is now complete:

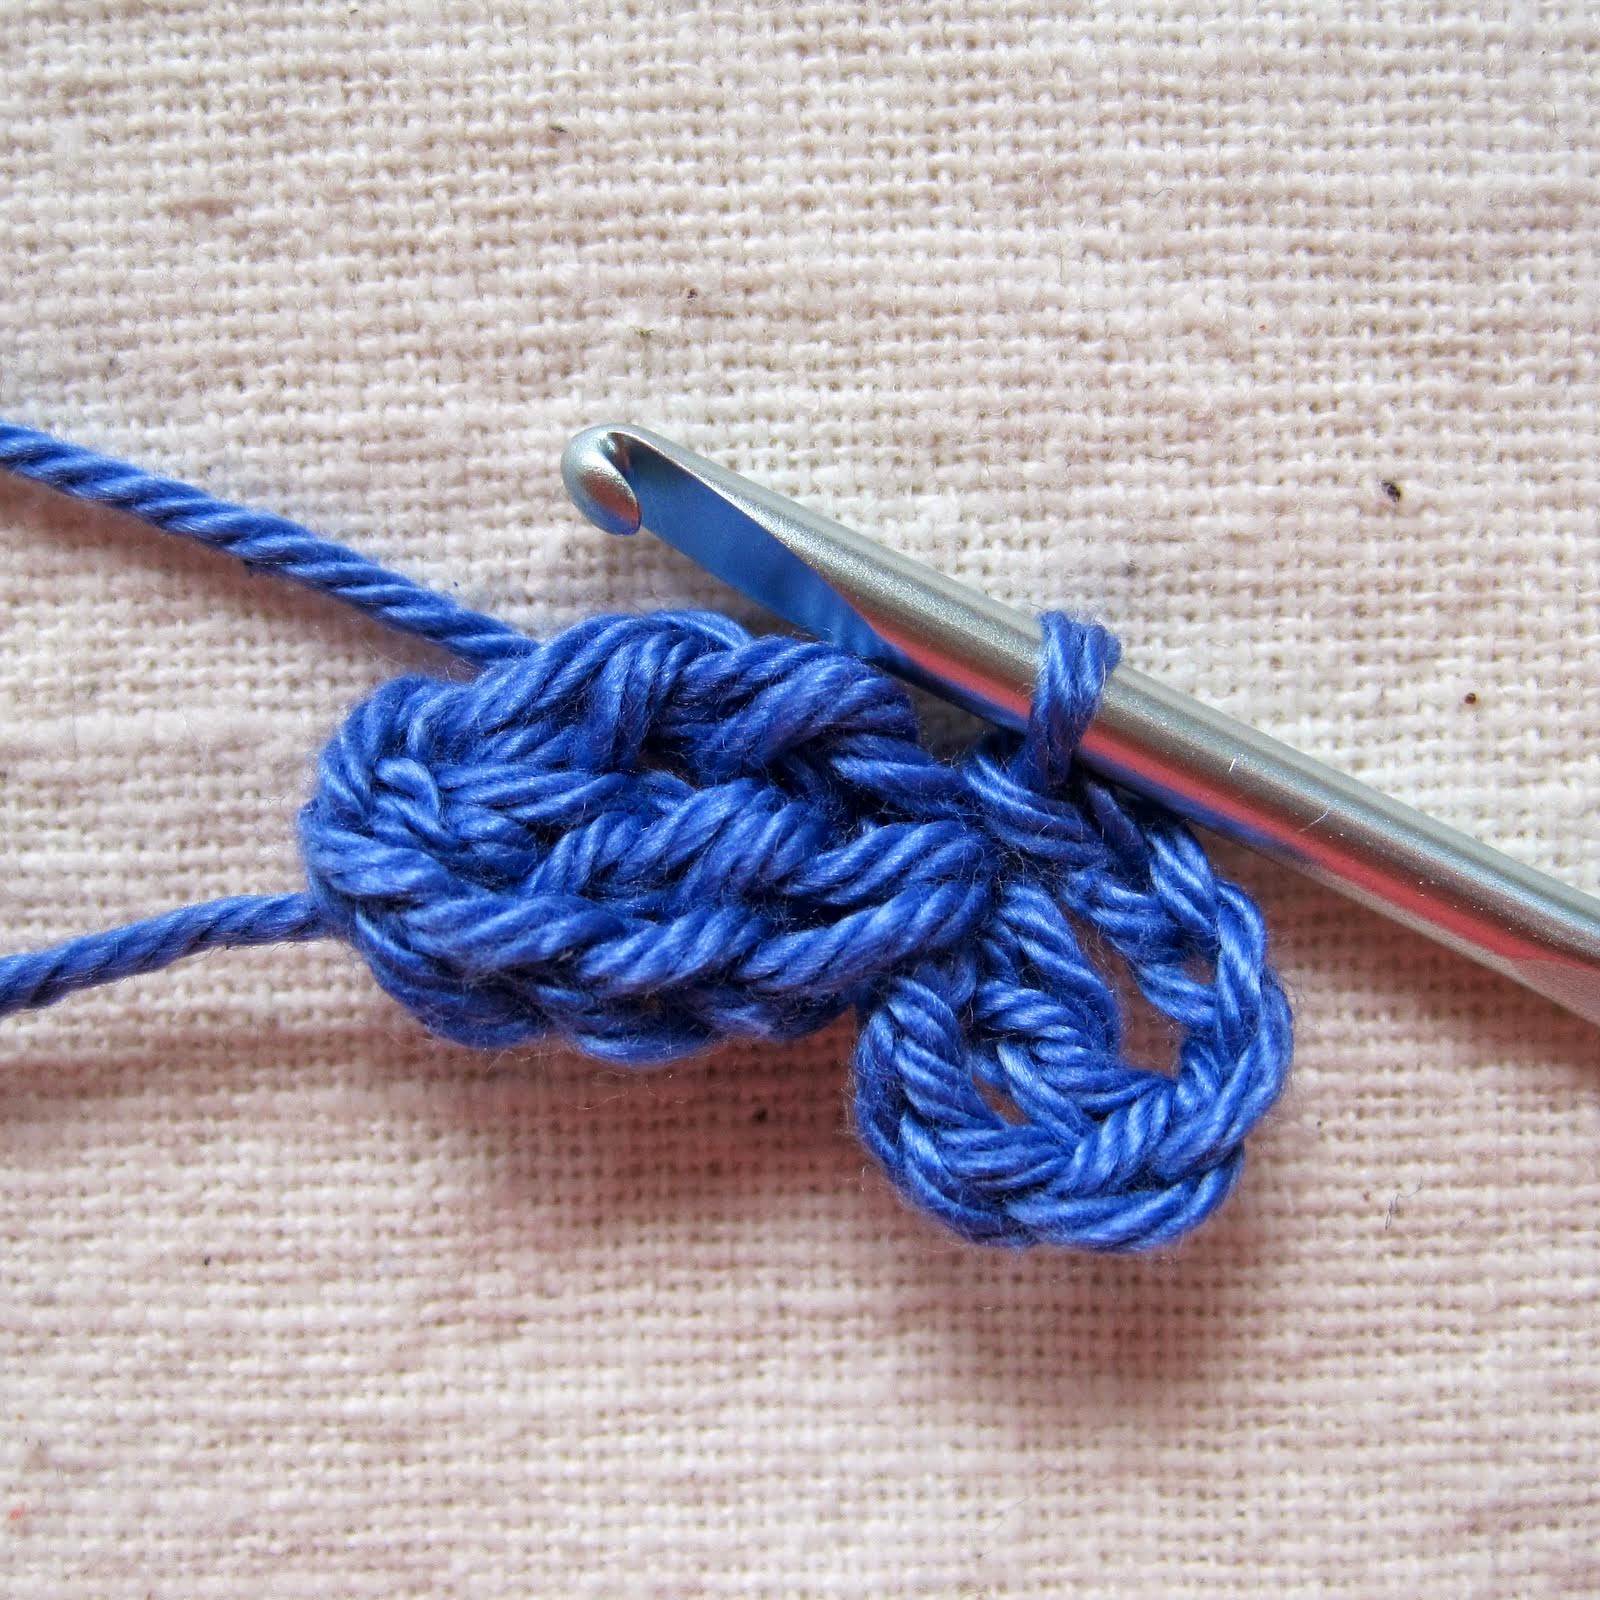
Double treble crochet in the starting back ridge space at the top of the upper left wing (see arrow in photo above).
To double treble crochet:
yarn over 3 times,
insert hook in starting back ridge space,
yarn over and pull up a loop,
yarn over and draw through 2 loops (4 times).
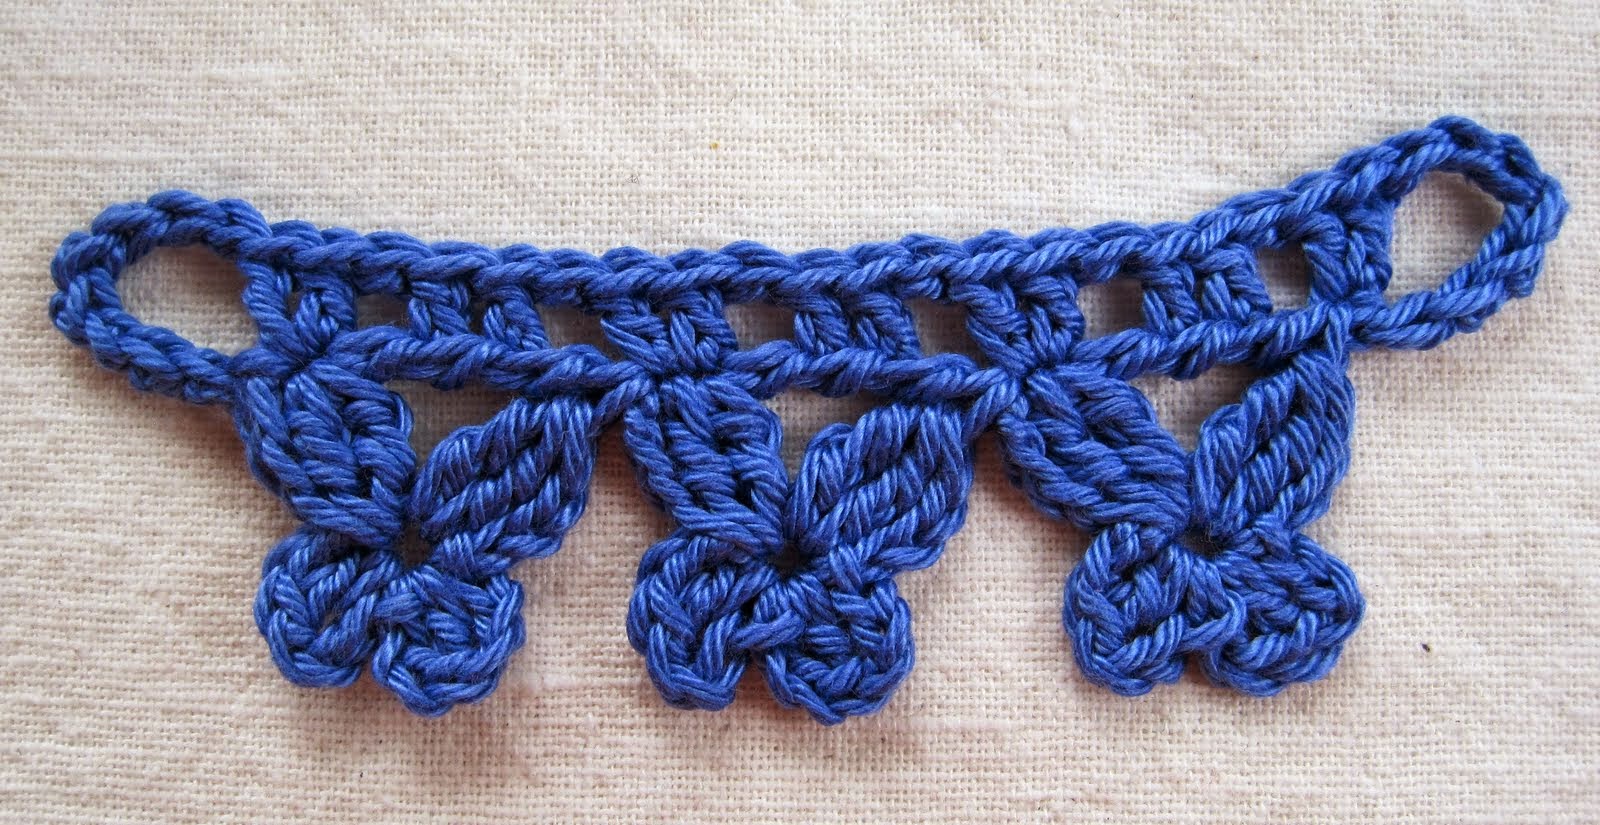
Your first Flutter-By is done!

Repeat all the above steps to make another Flutter-By...
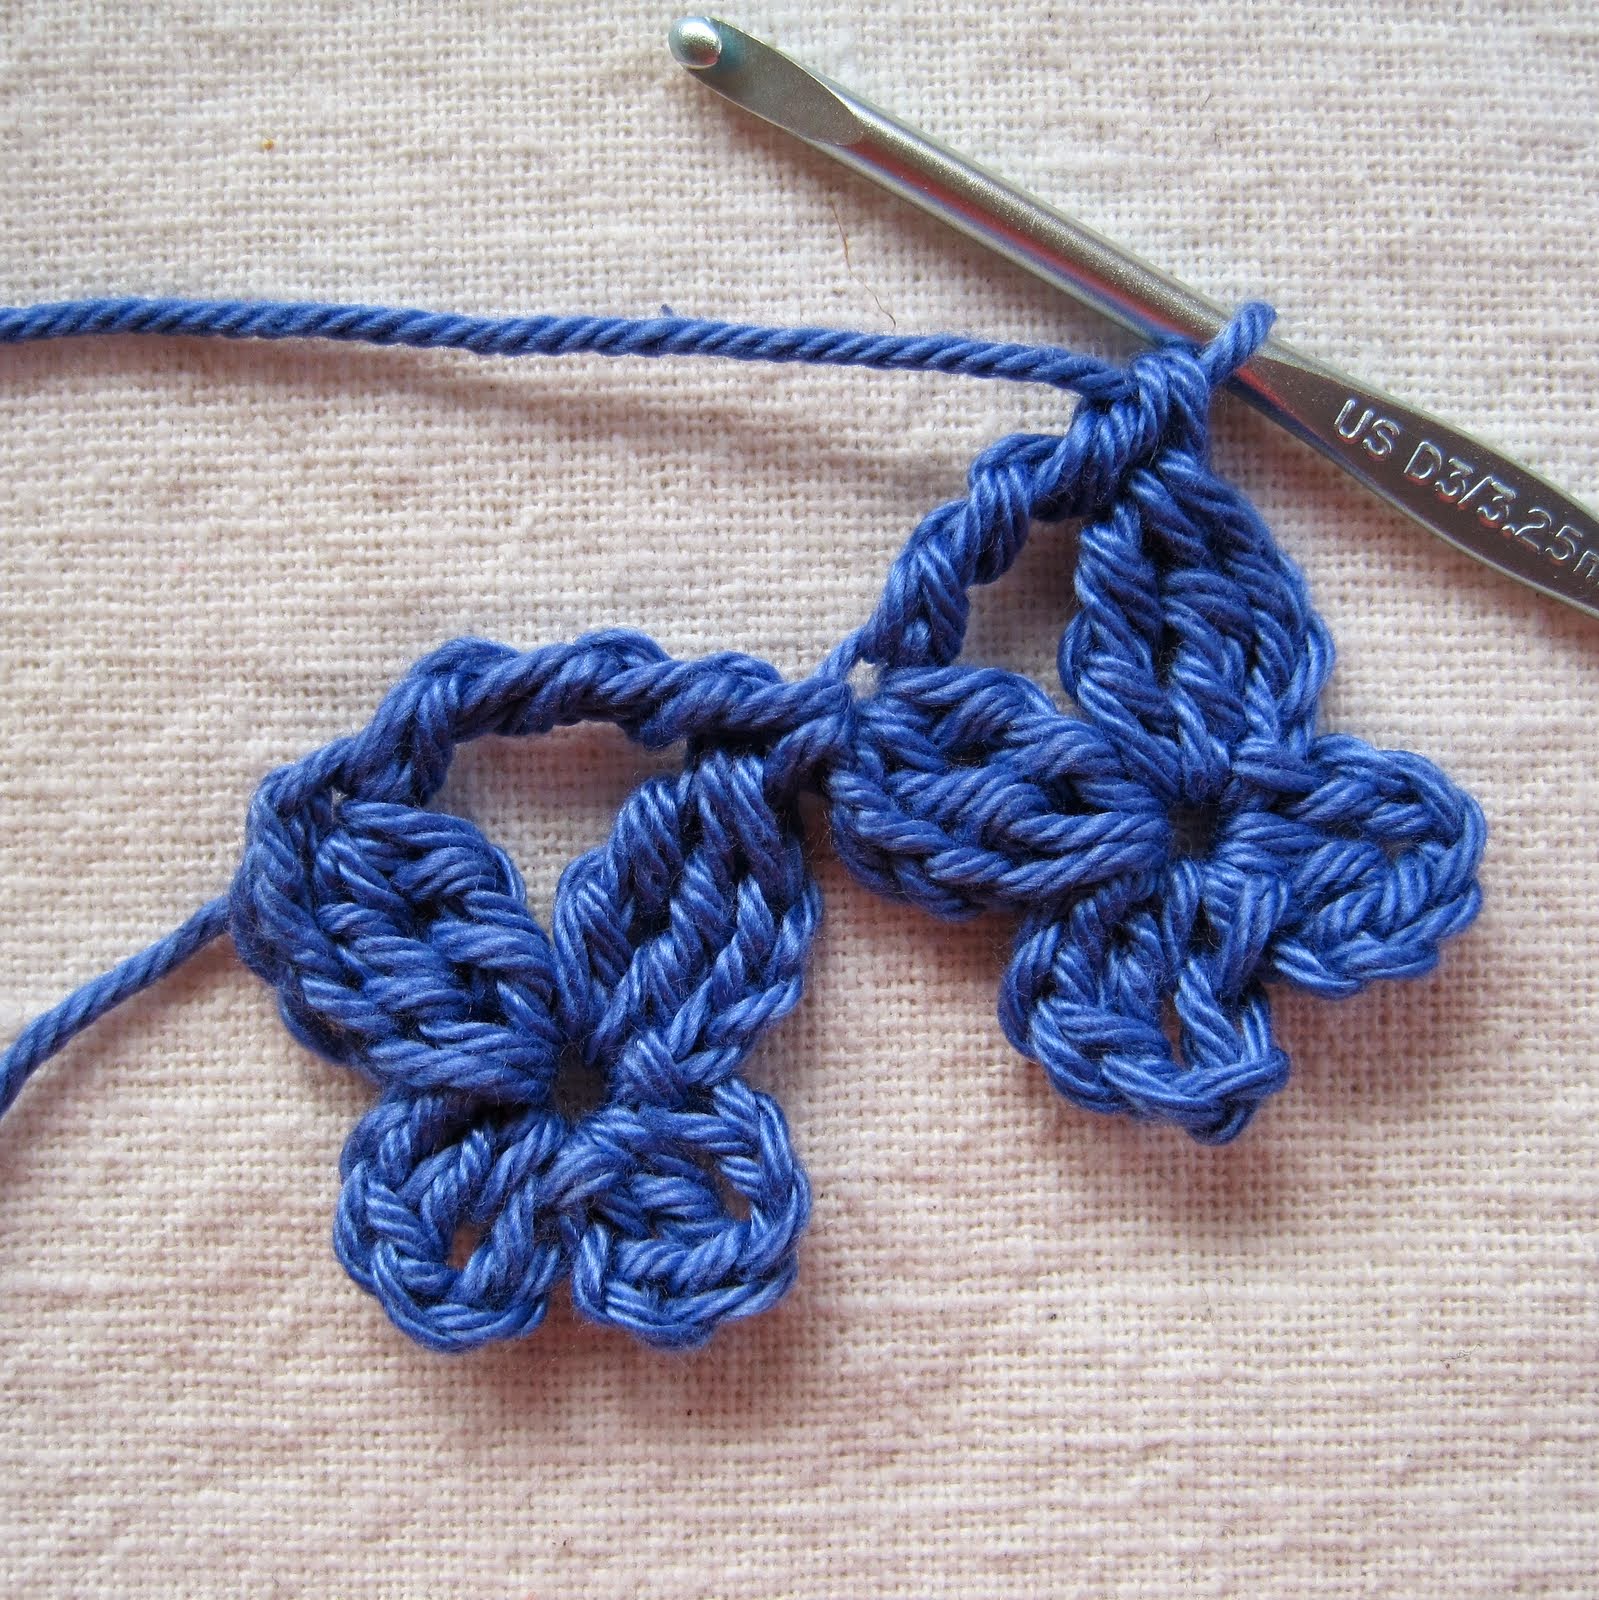
...and another...

...until your tie is as long as you'd like. (My orange curtain ties are 12 Flutter-Bys long - about 18" after end loops are added).
When you reach the desired length, it's time to loop around and start working back the other way. Do not turn your work over; keep the same side facing you at all times.

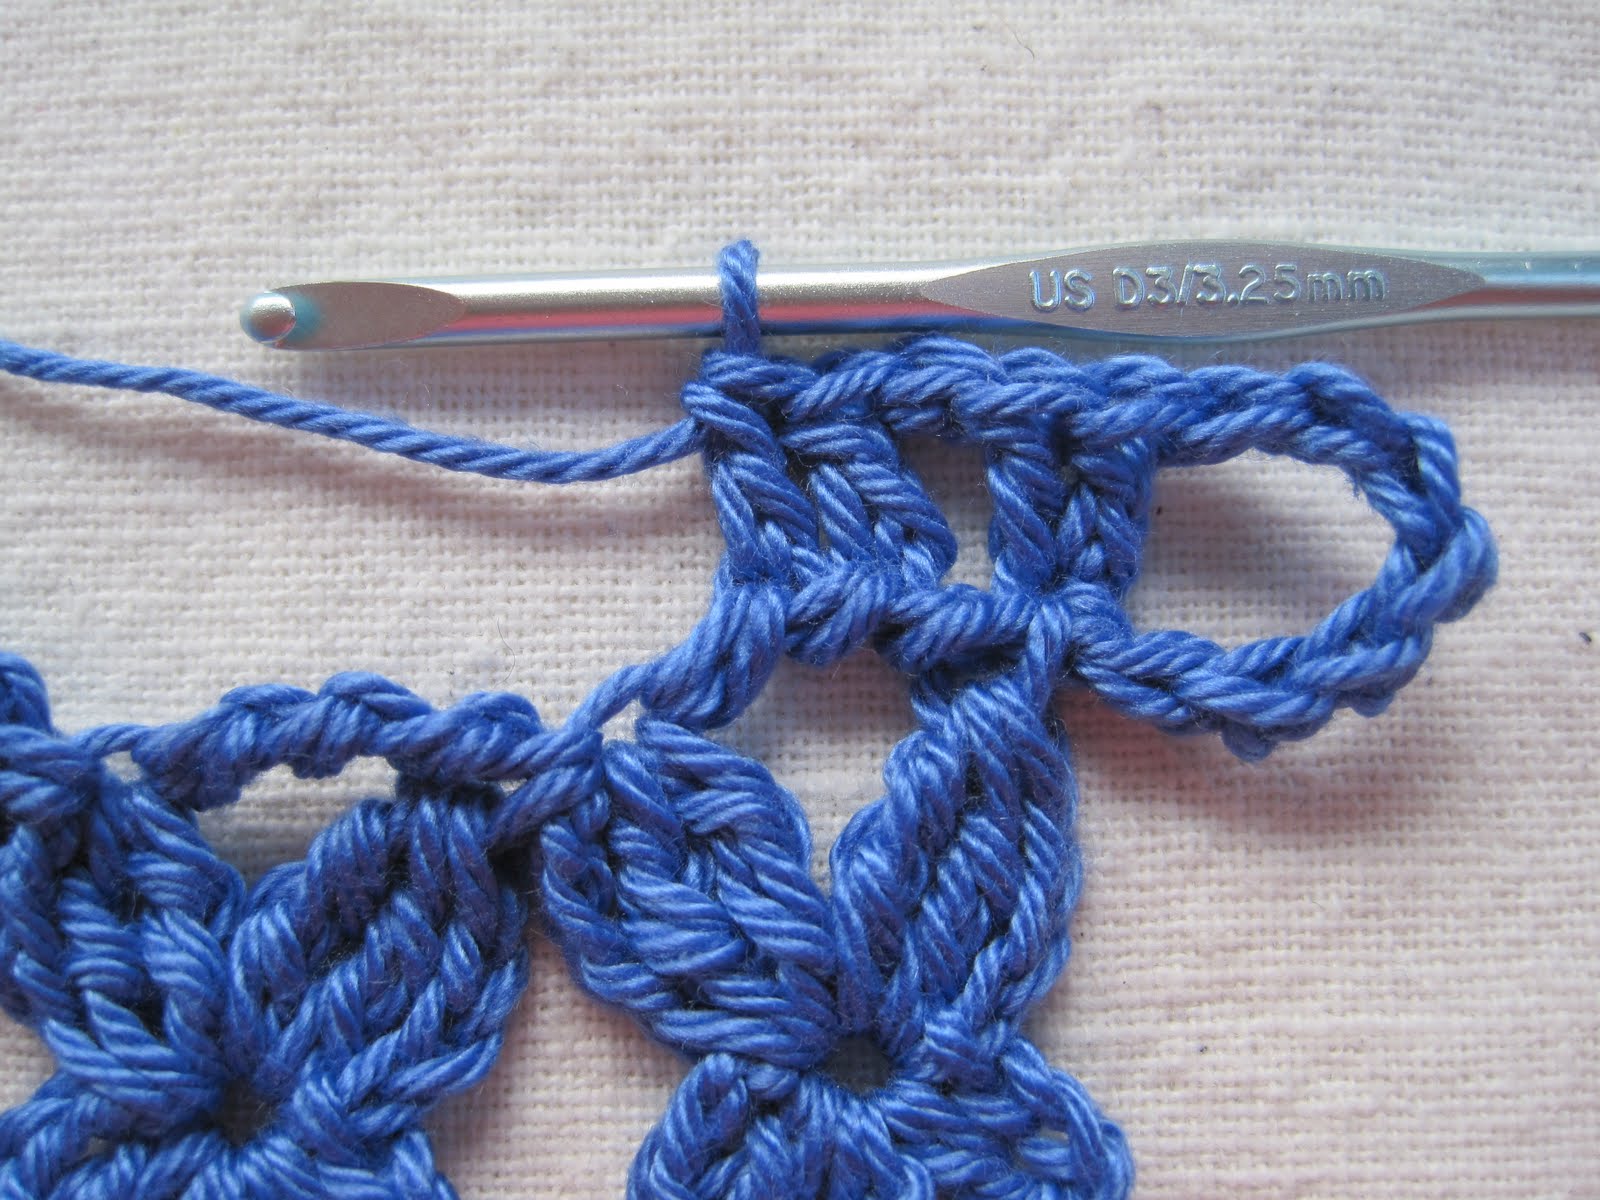
The arrows in the photo above show where your next stitches will go.
Double crochet 2 in the back ridge of the first Forward Loop Chain:
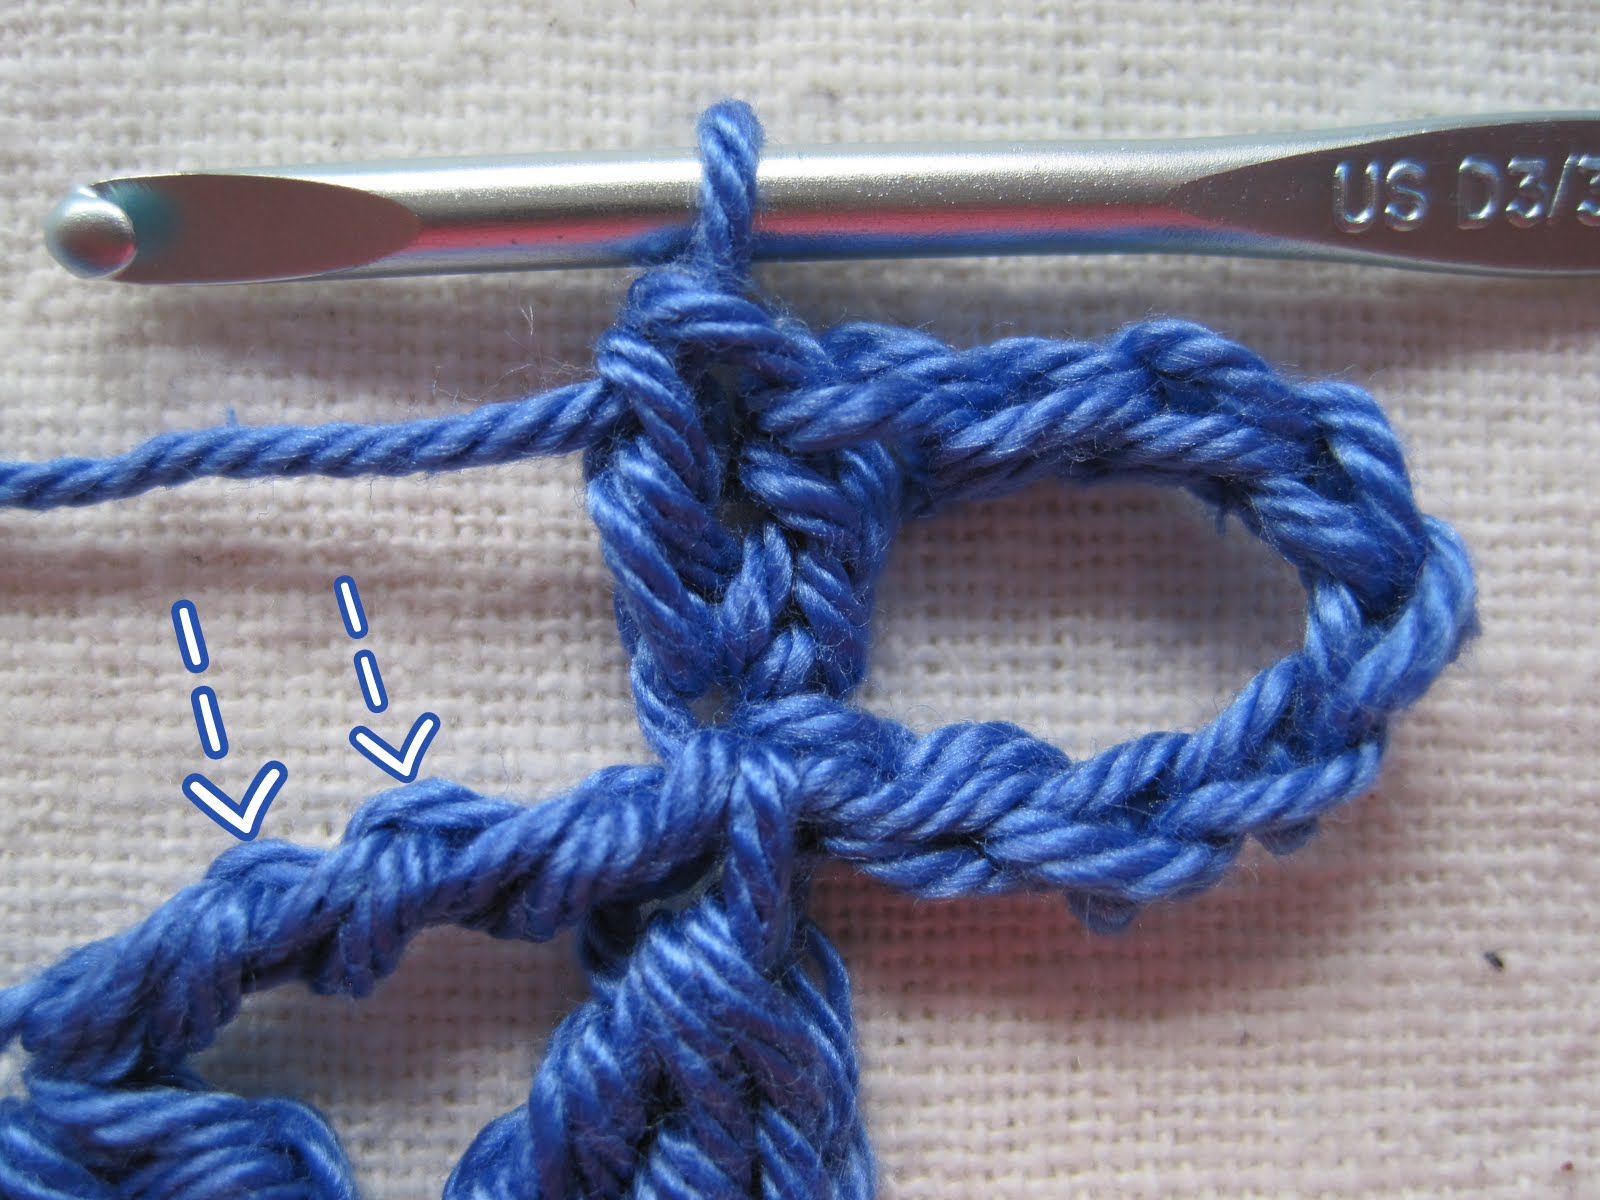
Now stop for a moment and look at the Double Treble that connects the top wings of the Flutter-By. In the center of it you will see 2 ridges (marked by arrows in the above photo.) Your next stitches will go there.
Forward Loop Chain 1, then double crochet in each of those 2 back ridges:
Forward Loop Chain 1, then double crochet 2 in the top space of the left upper wing:

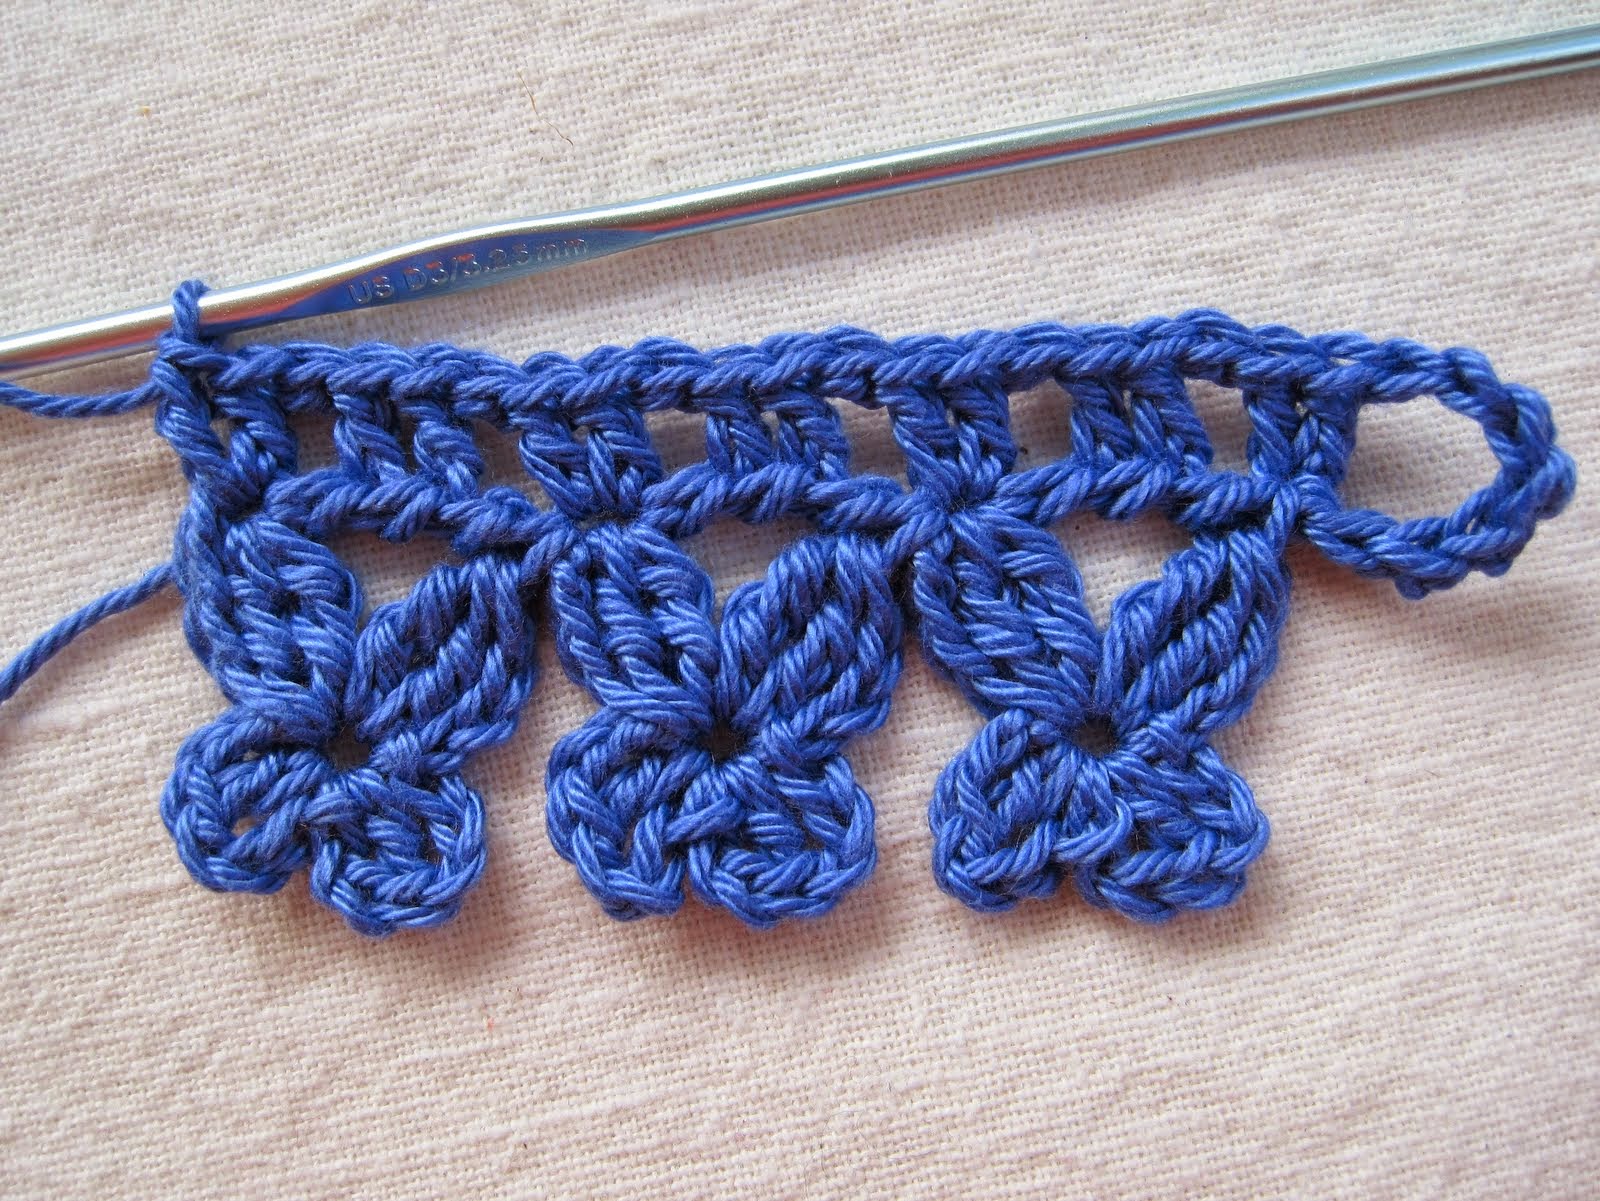
Repeat this stitch pattern across the top of your curtain tie:
(Forward Loop Chain 1,
double crochet 1 in each of the 2 center back ridges of the next double treble crochet,
Forward Loop Chain 1,
double crochet 2 in the top of the next upper left wing.)
When you reach the other end...
Forward Loop Chain 8, and connect with an Invisible Join to the first stitch of the first wing (see Special Stitches above for Invisible Join tutorial link; you may substitute a plain slip stitch join if you like.)

Nessun commento:
Posta un commento